
Implementing SSL/TLS certificates is a crucial aspect of web security. These certificates establish encrypted connections between clients and servers, protecting sensitive information from unauthorized access.
If security is not your concern. Did you know that SSL/TLS can help improve your website's search ranking? Search engines use SSL/TLS as a factor in their algorithms when determining which websites to display in search results.
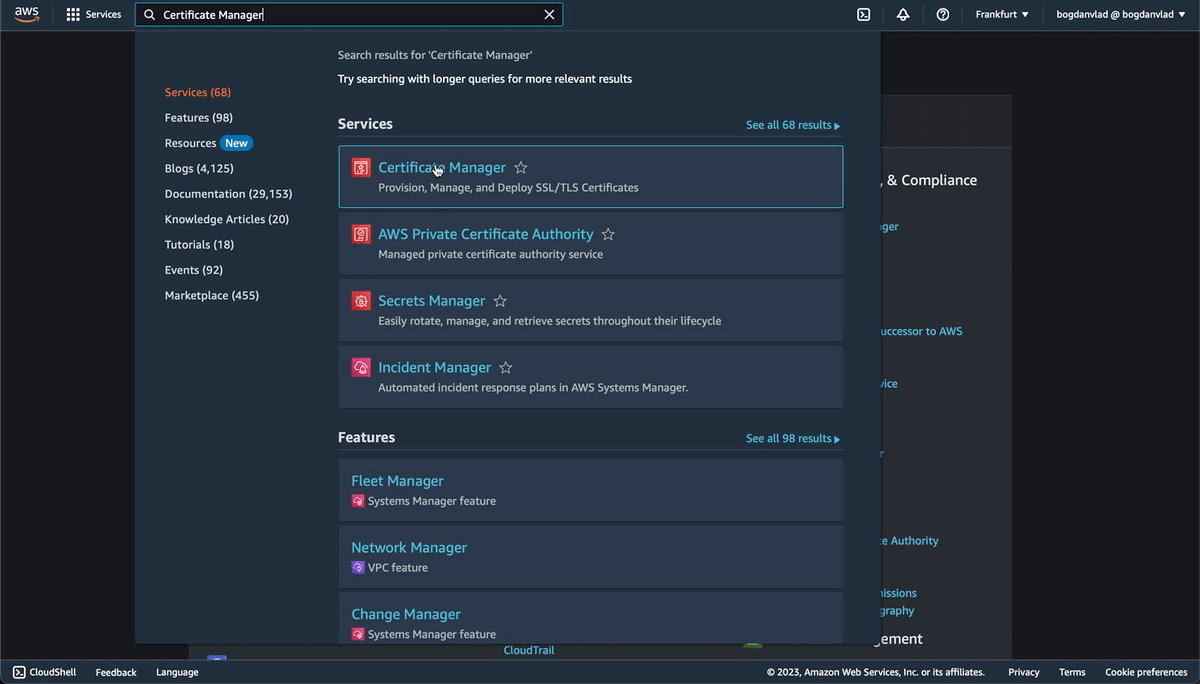
AWS Certificate Manager (ACM) is an AWS managed service that simplifies the process of provisioning, managing, and deploying SSL/TLS certificates. ACM handles certificate generation, renewal, revocation, and integration with various AWS services, and best of all. It's free.
ACM and other certificate authorities like Let's Encrypt have made it incredibly easy to generate and use SSL/TLS certificates. Therefore, there's no excuse for not securing your website traffic.
Create Certificate
To create the certificate, follow these steps:
Navigate to the AWS Certificate Manager (ACM) in the AWS Management Console.
Click on "Request a certificate", click "Next", and enter the domain name(s) for which you want to create the certificate. You can specify multiple domain names or use wildcard certificates.
Wildcard certificates start with an asterisk (*), e.g., *.yourdomain.com. The advantage of wildcard certificates is that they will match any first-level subdomain, e.g., www.yourdomain.com, but it comes with some security concerns.
Choose the validation method.
DNS: This method requires adding CNAME record(s) to your domain's DNS configuration.
Email: ACM sends validation emails to the email addresses associated with your domain(s).
In this guide, we'll use the DNS validation method, which is also recommended by ACM.
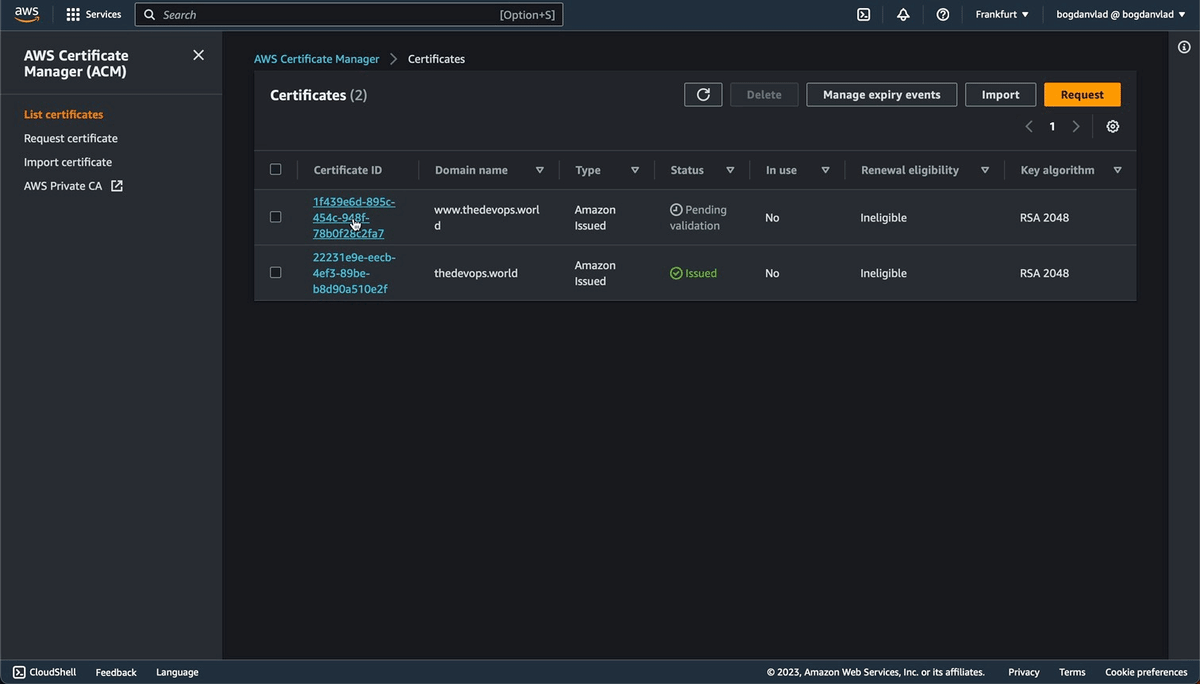
For the Key algorithm, use the default "RSA 2048".
Certificate Validation
Amazon Route 53
If you use Amazon Route 53 to manage your DNS records, you can update your records through ACM directly.
Go to the certificate that you just created.
Under "Domains", click on "Create records in Route 53".
Select the Domain for which the certificate was created.
Click on "Create records".
Wait for the status to change from "Pending validation" to "Issued". This may take a few minutes to complete.
Other DNS service providers
If your domain DNS service is managed by a domain registrar like GoDaddy, Namecheap, etc. You'll have to create the CNAME record(s) yourself.
Or if you want to use the method above for validation. You can move your domain DNS service to Amazon Route 53. To do so, follow these 5 Steps: Migrate DNS Service From GoDaddy To AWS Route 53. The article uses GoDaddy as an example, but the process is similar for most DNS providers out there.
To validate the certificate. Follow these steps:
Go to the certificate that you just created.
Under "Domains", copy the values of the "CNAME name" and "CNAME value".
Go to your DNS service provider.
Create CNAME record(s) with the values from the 2nd step.
Depending on the provider, you will most likely need to remove the last dot from the copied values and the domain part from the "CNAME name".
Back into the ACM Console. Wait for the certificate status to change from "Pending validation" to "Issued". This may take a few minutes to complete.
Conclusion
That's it! If you followed the steps in this guide, you now have a valid certificate for use with Amazon CloudFront, Elastic Load Balancing (ELB), Amazon API Gateway, and AWS Elastic Beanstalk.